Booting BB NAVI
Unfortunately, I've never actually purchased a Japanese PS2 (they are overpriced in Japan compared to the sale of the console overseas). BB Navigator is an exlusive Japan-only product. Alas, here's this guide. The BB Navigator will only install and function with a Japanese region PS2 and HDD. However, with a DMS3 modchip and the official PS2Linux (which comes with the HDD, keyboard, and mouse), you can successfully boot and install a copy of BB Navigator on any non-Japan version PS2. However, I will not delve into that as there are numorous guides available on the internet regarding the process.
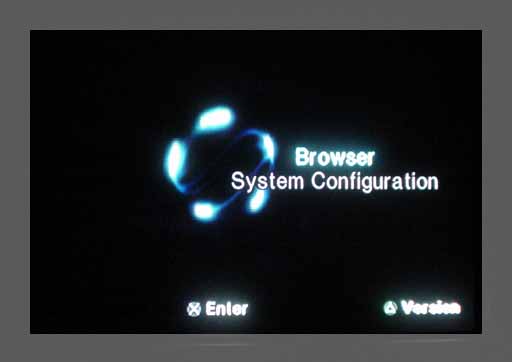
- The PS2 Browser... (duh!)
- Note: With an official installation of BB NAVI on a Japanese PS2, you will not see the above menu. Instead, the PS2 boots automatically into BB NAVI and you are presented with you're enhanced interface.
Involving PS2 Linux
Even though BB NAVI is easily installed, when it runs, it checks the PS2 & HDD for the Japanese region codes, therefore the BB NAVI will only run on a Japanese machine. Luckily, BB Navigator is a software written based on Linux. Thus, we can easily fool the software in running using emulation with PS2 Linux. This requires you to own the PS2 Linux Kit, which is actually a plus because you get the same HDD that is bundled with the current FFXI package. Both currently costs $99.
You will need a few binaries as well as a modified PS2 Linux save file for BB NAVI on your memory card. Aussiewan has written an excellent and detailed guide, though it is very outdated. Follow his instructions to get PS2 Linux onto your memory card.
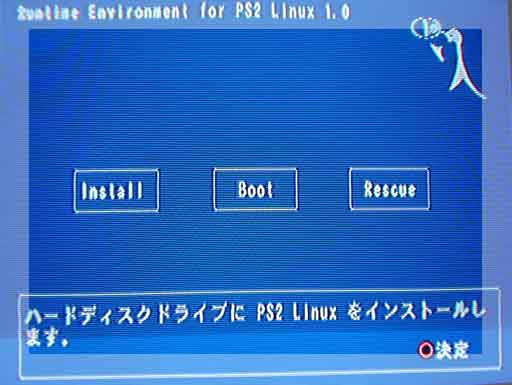
- After inserting the PS2 Linux RTE (Disc 1), you will be shown the RTE Boot Menu.
Note: Just in case you did not read the PS2 Linux manual, you should know that the disc boots in RGB mode by default. Unless you have a monitor (as in LCD or CRT) connected to your ps2 you will not be able to see anything. To override this, when booting the RTE disc, at the PlayStation2 logo screen hold SELECT + START + R1 to boot into NTSC mode. For PAL users, hold SELECT + START + L1.
- Select Boot from the list of options.
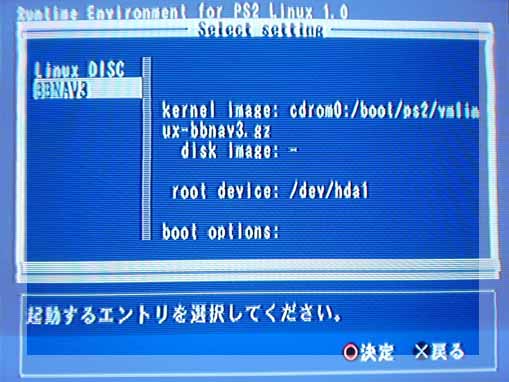
- Choose BBNAV3 from the list of booting options.
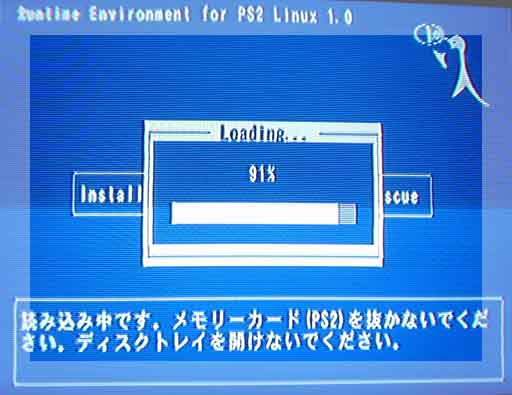
- Loading boot information from disc.
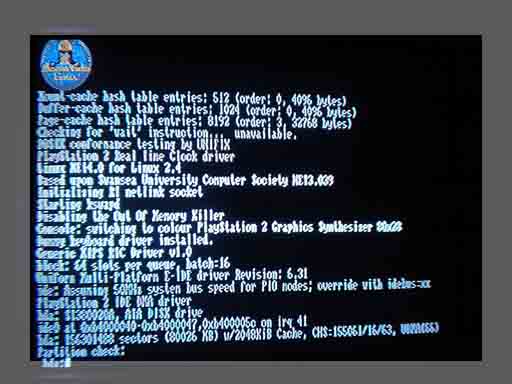
- PS2 Linux takes over to emulate the BB NAVI process.
Note: After Linux loads and configures all the required modules, you will be presented with a screen with flying electrons... like the image presented at the top of the page. Remember that you must eject your Linux RTE disc at this point to continue the booting process. (This is because BB NAVI was designed to automatically boot in a Japanese console when no valid disc is present. When there is a PS or PS2 disc present in the tray, the PS2 will attempt to boot inserted game. In our case, you wouldn't want to re-boot PS2 Linux again.)

- Tada! Now we are in PlayStation BB menu screen. The Japanese text displayed here is prompting you that BB NAVI needs to set up your internet preferences. Pressing O will take you to the next screen where you will enter your DNS, ISP settings and etc.
|