|
|
|
|
|
ModChips
| HDD
| Online
| Miscellaneous
| Exploits
| Tutorials
| Media Players
| Launchers
| SwapMagic Tools
| Emulators
|
Ubergeek's Exploit InstallerHardware needed:
Software needed : Installation: 1) Download and extract the ubergeek's exploit installer onto your PC 2) Open WinHiip and add the iso contained in the folder you just extracted : exploit_installer.iso. (Leave everything by default) 3) You can now put your HD back into your PS2 and boot as you usually do with your HDL/HDA retail disc. 4) Run (play) the exploit_installer you just added with winhiip.  5) Remove your HDL/HDA disc and insert your PS1 Disc instead and press X. 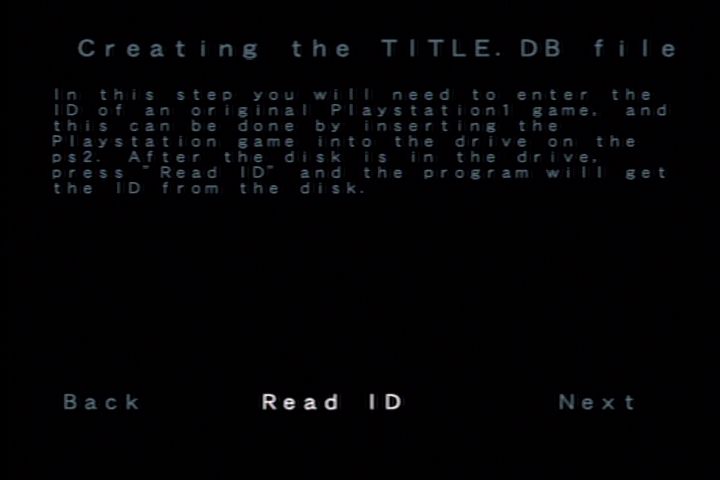 6) You can skip the network configuration if your not sure what to put or dont intend to network to the PC. 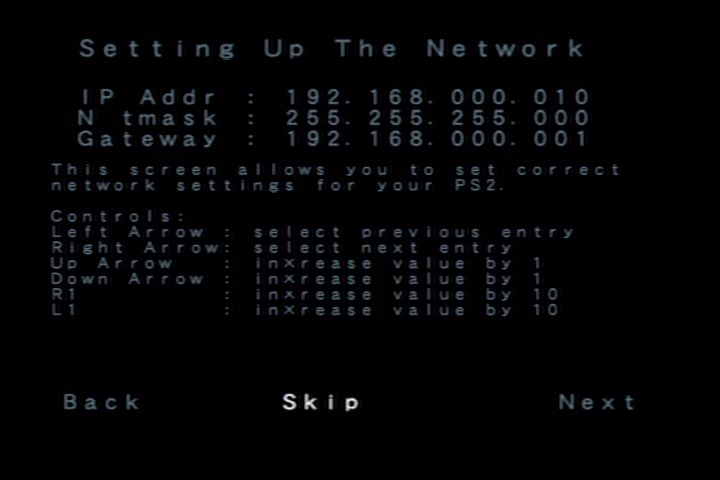 7) Check that you have enough space on the memory card which is in slot 1 then go on with the installation.  Once it's completed, you can reboot your PS2 leaving your PS1 disc inside (manually since the exit point of the installer doesn't work yet). 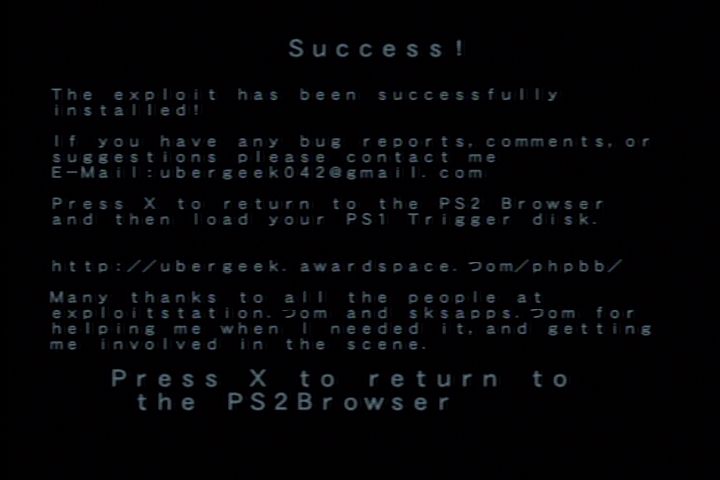 You should now see the uLaunchelf menu now (with an error ! ) : "Failed to Launch LAUNCHELF.CNF". This will happen the first time your run uLaunchelf as there is no Launchelf.cnf created yet. So don't worry about it. Adding files: 1) Now we are going to install the latest version of HDLoader and update our uLaunchELF application. Extract the archives you downloaded of those apps into a directory of your choice. Then plug your USB thumb drive into your computer. Make sure it's formatted in FAT format (in opposition to FAT32). If it's not, you will have to do so (Right click on your USB drive then format. Select FAT and quick format but be aware you will lose everything on this drive). Add the following files onto your USB drive (root folder is fine ) : HDL8B_MC.ELF (this is the name for ours, but it may be different if you got it elsewhere) BOOT.ELF (for the uLaunchELF) Any other apps elf file you want 2) Now plug the USB thumb back in your PS2 and at the uLaunchELF menu and Press O for the fileBrowser. 3) Go to mass: and you should see the files you just copied. Mark * HDL8B_MC.ELF and press R1 then copy. 4) Navigate now to your hd (hdd0:) and go into __common folder. Press R1 again and paste your file here. 5) Go back to your USB thumb and copy BOOT.ELF now (with R1 > Copy) 6) Navigate to your MC (memory Card in slot1) mc0: and paste the BOOT.ELF file into the BxDATA-SYSTEM/ directory 7) Quit the FileBrowser (you should be back on the uLaunchELF menu) and press SELECT (or highlight configure and press O) Configuration: We can now add an entry to the uLaunchELF menu. Choose on which button you want HDLoader to be assigned then press O and navigate and choose hdd0: /
__common / HDL8B_MC.ELF
Then select the square button to rename the entry if you wish to. You
can enter HDLoader or whatever you see fit ! Press ok and go back to your uLaunchELF menu. Repeat to assign each app to a different button if you added other apps.. Restart the PS2 again with the PS1 disc still in the tray. If the update went well, your uLaunchELF version should be updated now. You should also have a new entry in your menu : HDLoader (and whatever else you added). Select this one and test your games . |
|
|